There are many ways to use Git repositories. You can install a plugin in your IDE, you can use Web UI or you can install a dedicated application only for working with Git. But it is a good idea to become friends with the Git command line tool. It is the most flexible tool that allows you to do all the things you can do with the above-mentioned tools and even more!
In this blog post I will show you Git commands that help you to start working with Git command line tools and eventually become best of friends.
What is Git?
Git is an open-source version control tool. It helps to organize the work of many people on the same code. It tracks all changes made by developers on multiple branches and provides an easy and simple way to integrate it all into one code base.
How to install the Git command line tool
There are several ways of installing Git. If you are using Linux the easiest way is to use the package manager that your distribution supports. For example:
For Debian/Ubuntu users:
sudo apt-get install git-all
For RHEL/Centos users:
sudo dnf install git-all
If you are using Mac OSX you can use installer file or brew package manager:
brew install git
On Windows you can also download the installer file.
You can confirm Git installation using command: git --version
Useful Git commands with examples
Become friends with Git with the below set of useful commands.
Configure your repository
To start working with Git you first need to configure it on your local machine and download the repositories that you want to work with.
git config
Probably the most important of Git commands, because it allows you to start working with Git. This will set your name and email address as the author of your future commits.
git config –global user.name <name>
git config –global user.email <email_address>
git init
This Git command will start a new repository in your working directory and Git will track it as a Git repository.
git init <repository_name>
git clone
But what if you want to use an already existing repository? Then you need to clone it to your local file system remotely. There are two ways to do this with the git clone command:
Using username and password:
git clone https://<repository_url>
Or using the ssh key (you need to set your key first in the remote repository):
git clone git@<repository_url>
Create your own branch
To start working with Git efficiently you need to know how to create branches. This is essential for working within a team.
git branch
Lists all branches in the current repository. You can find the branch that you were previously working on.
git branch
This Git command can also create a new branch for you, just add the branch name at the end of command.
git branch <branch_name>
git checkout
Another way to create a new Git branch is to use the checkout option with ‘-b’ switch.
git checkout -b <branch_name>
The checkout command can be also used to change your current branch.
git checkout <branch_name>
Share your work with others
When you want to upload your work to a remote repository, first you need to check what files are tracked and can be uploaded (or ‘committed’, using Git terminology).
git status
This command shows you files that have changed, new files that can be committed to the Git repository or deleted files that can be removed from the repository.
git status
git diff
You want to be more specific about changes than just file names? Use the diff function which shows you all ‘not committed’ changes on your branch.
git diff
git add
This command allows you to add files to the staging area (a space where you can add multiple files that will be included in the next commit).
git add <file>
You can also add multiple files, but be careful with this, make sure with git status that you have the correct list of files to add.
git add *
git commit
Commit adds all changes that are in the staging area to the version history with a commit message.
git commit -m “<commit_message>”
git push
This will upload all locally committed changes to the remote repository.
git push origin <branch_name>
What if something goes wrong?
git rm
When you add a file to the staging area and you don’t want it there anymore, you can use this command to delete it.
git rm <file_name>
git reset
This allows you to remove files from the staging area but keeps the file content.
git reset <file_name>
If you use this with a commit hash it will delete all commits after a specific commit, but it will not delete changes made in files.
git reset <commit_hash>
The next command will delete all history and get back to a specific commit.
git reset --hard <commit_hash>
More useful Git commands
And here are some more Git commands that you will be using more or less often.
git pull
This command is used to get the latest commits from the remote branch that you are currently on.
git pull
git log
This allows you to take a look at the commit history for a current branch.
git log
git merge
This command lets you merge specific branches into your local branch history.
git merge <branch_name>
git stash
The following set of commands allows you to temporarily save your changes and take them off your working directory, and then put them back in place.
git stash save - saves changes
git stash pop - put saved changes back in place
git stash list - list all stashed changes
git stash drop - it deletes saved changes
Looking for a tailored approach to your project and requirements? Check out our custom software development services and see how we can help.
What if you still have not become friends with Git?
If you prefer to have a UI rather than use command line tools, there are also some very nice tools that you can use.
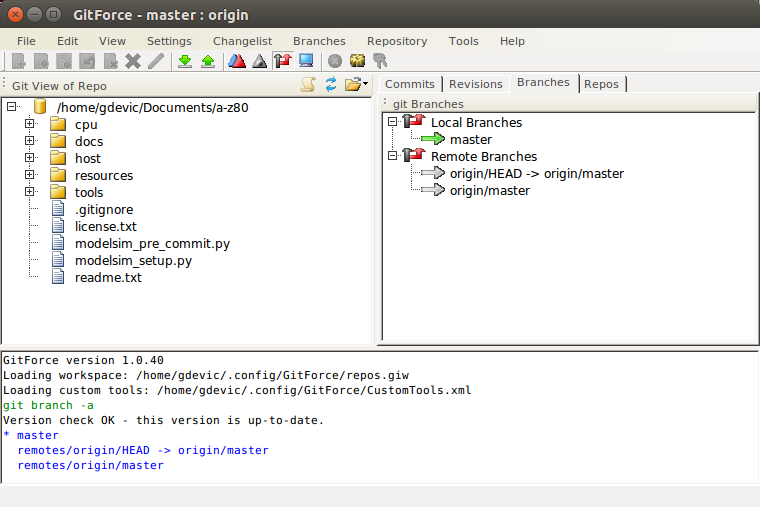
GitForce
GitForce can be used on both Windows and Linux OS. It is free and can be downloaded from here .

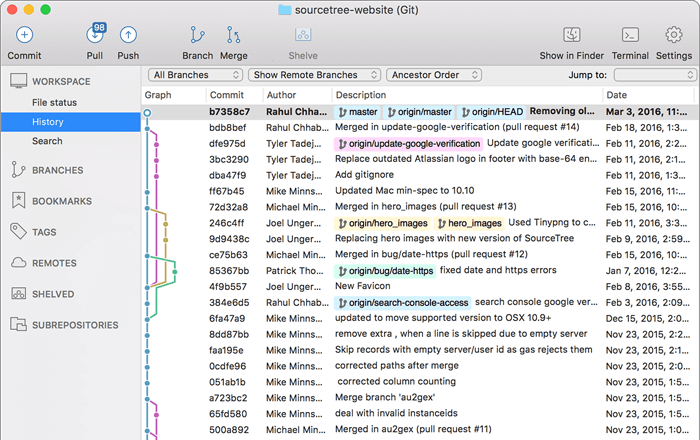
Sourcetree
This tool can be used on Windows and OSX. It is free of charge and can be downloaded from here

IDE Plugin
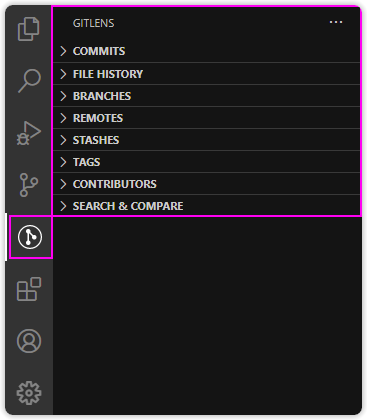
Git can be also used straight from your IDE (of course, only if it supports this option or allows you to install a plugin which supports it). For example, for Visual Studio Code you can install the GitLens plugin. It will allow you to access most Git functions straight from the IDE. You can download it from here , and it is also free of charge.

Conclusion
As you can see, there are many ways to interact with Git repositories. But even if you do not want to use Git command line tools on a daily basis,it is good to know how to use them. In an emergency situation or when you need to do some Git work in an environment without a Git client,it is the easiest software to install and it can be used even if you have only access to a terminal console.
Check out other articles written by our experienced software developers and engineers:


